I wanted to learn how to create a stripped-down MFC project in Visual Studio 2019 (VS) that does not use the document/view architecture, but all of the tutorials on-line–at least the ones I found–were for earlier versions of VS and the menus have been restructured since that version.
I’m often frustrated when software companies rearrange menus in their products but do not update the tutorials. This makes learning new software unnecessarily harder.
This tutorial demonstrates how I was able to create a bare-bones MFC project in VS 2019.
First, my version of VS, Microsoft Visual Studio Community 2019, Version 16.0.3 Microsoft .NET Framework, Version 4.7.03056
Create Project:
From, File → New → Project – will open Create new project dialog:
From the “Language” menu, choose C++.
Select [Empty Project] then [Next] – Configure your new project dialog will open:
Enter project name and select project folder location. Left mouse button (LMB) on [Create] – this will create an empty project.
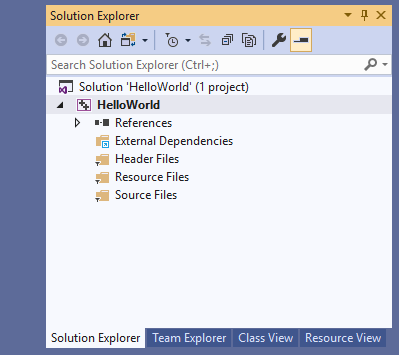
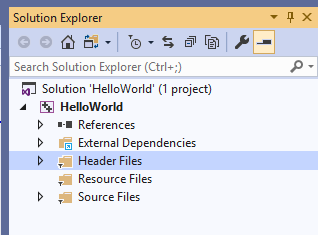
Once the project is created, the Solution Explorer should look like this:
Configure Project:
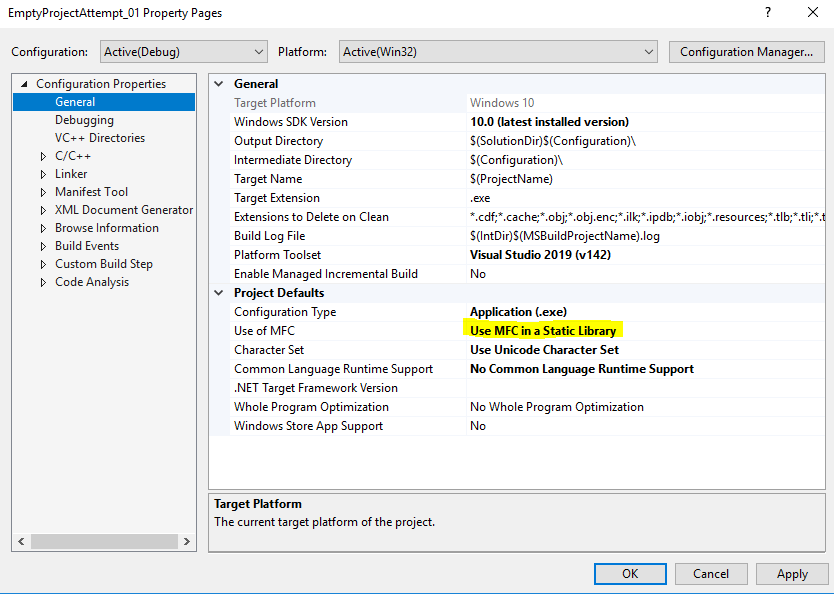
In Solution Explorer, right mouse button (RMB) on project name–“HelloWorld” in this case–and select Properties from menu – Properties Page dialog will open:
Select Configuration Properties → General and set Project Defaults → Use of MFC = “Use MFC in Static Library”.
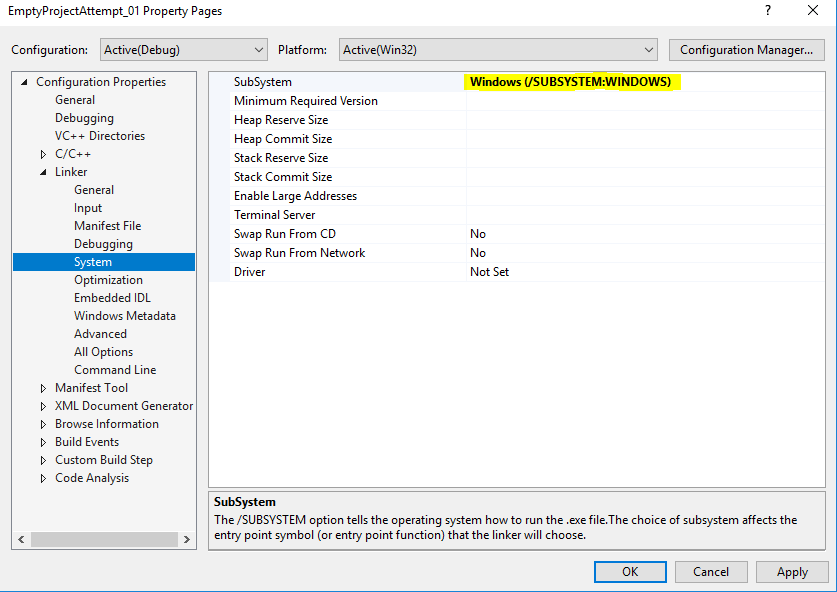
Select Configuration Properties → Linker → System and set SubSystem = “Windows (/SUBSYSTEM::WINDOWS)”
LMB on [OK] to apply changes and exit dialog.
Create Source File:
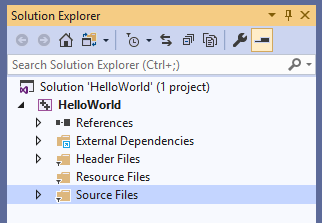
From Solution Explorer panel:
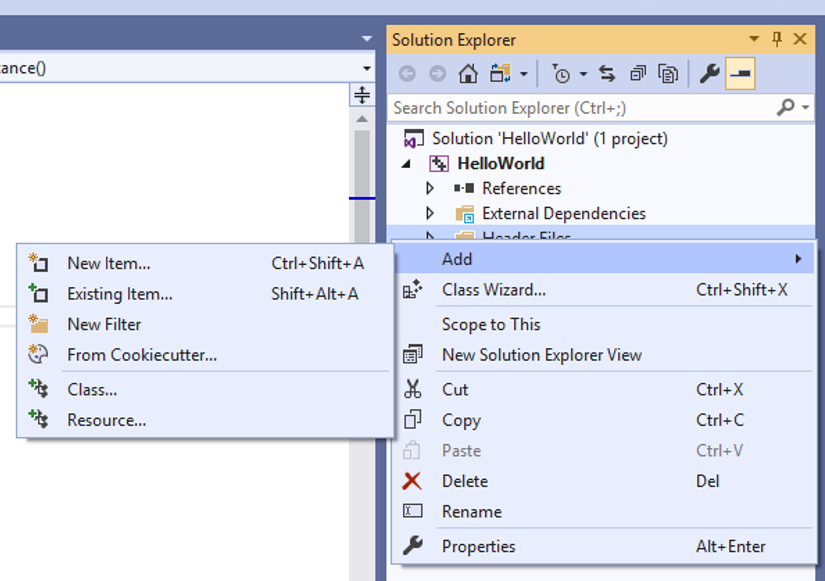
RMB on “Source Files” in Solution Explorer
Select Add → New
Item from context menu
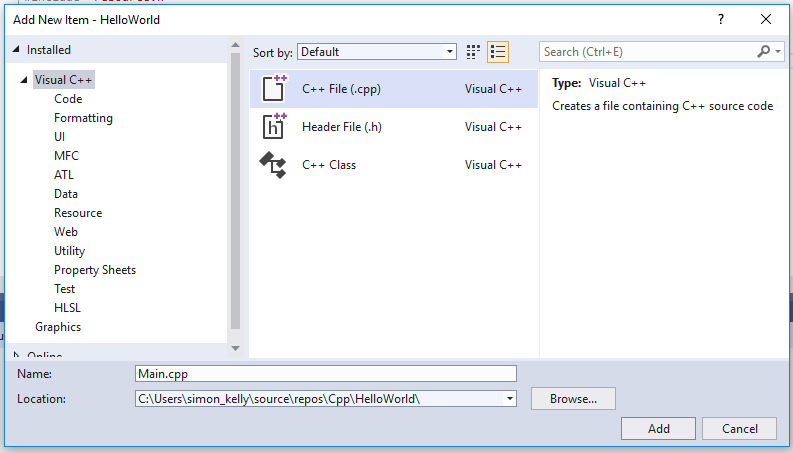
Select [C++ File (.cpp)], enter Name–in this case “Main.cpp”–and then [Add].
Select [Header File (.h)], enter Name–in this example, “Main.h”–and then [Add].
This will create an empty header file.
Copy the following code to that file,
#pragma once
#include <afxwin.h>


class CMyApp : public CWinApp
{
public:
	virtual BOOL InitInstance();
};

class CMainWindow : public CFrameWnd
{
public:
	CMainWindow();
protected:
	afx_msg void OnPaint();
	DECLARE_MESSAGE_MAP()
};
Press Ctrl+Shift+s to save all files in project.
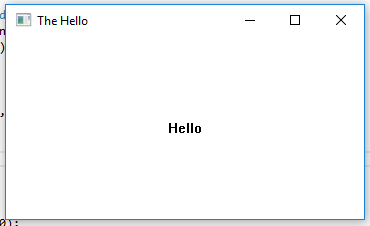
Press Ctrl+F5 to compile and run.
After the program has compiled, the hello world program window should open:
If the program does not compile, then I’m sorry, but I’ve just done to you what has been done to me so many times. The good news is that by figuring out what went wrong, you will learn far more about VS, MFC, and C++ than you would have if it had worked the first time.